
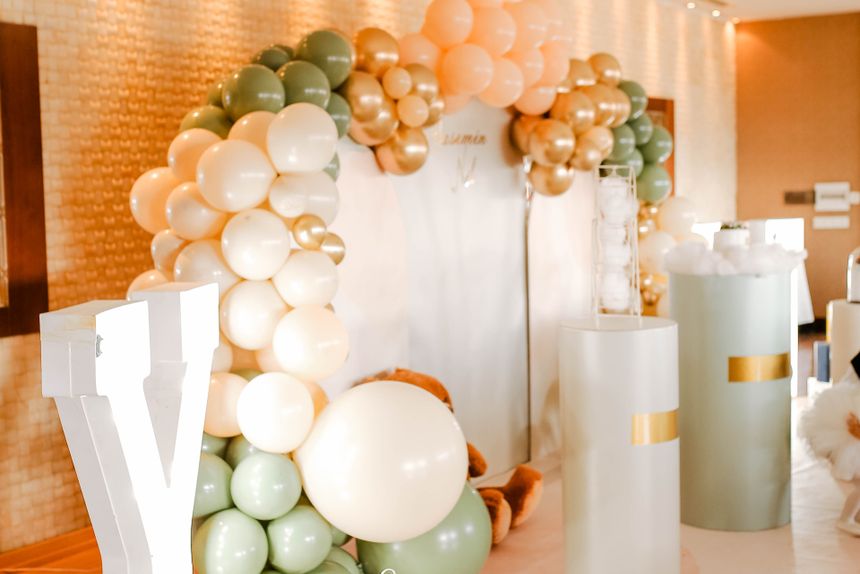
Every balloon arch on Pinterest looks like it took a professional years to master, and most of them were made by someone who started three weekends ago with a garage full of latex and a lot of patience. Here are the 10 things that actually matter for getting started.
#10 — Command Large Utility Hooks
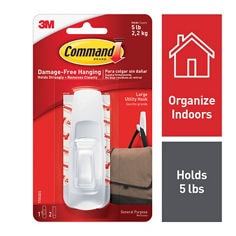
The finished garland looks incredible laid out on the floor, and then it’s time to actually hang it and every idea involves either a ladder, a nail, or someone’s security deposit.
These damage-free hooks hold up to five pounds each, which is enough for most balloon garland sections, and they come off cleanly without paint, drywall, or plaster coming with them. That matters a lot when the install is at someone else’s house, a rented venue, or anywhere a hole in the wall is a real problem. The honest weakness is that they need a smooth surface and about an hour to bond before they’re at full strength, so last-minute hanging right before a party isn’t ideal. But for getting a garland up without damaging anything, this is the boring, essential answer.
The difference between “hung it” and “explaining a wall hole to a landlord.”
- Why it’s #10: Holds up to 5 lbs per hook and removes without damaging paint or drywall
- Best for: Hanging finished garlands at venues, rentals, or anywhere damage isn’t an option
#9 — Build One Small Test Section Before the Full Design
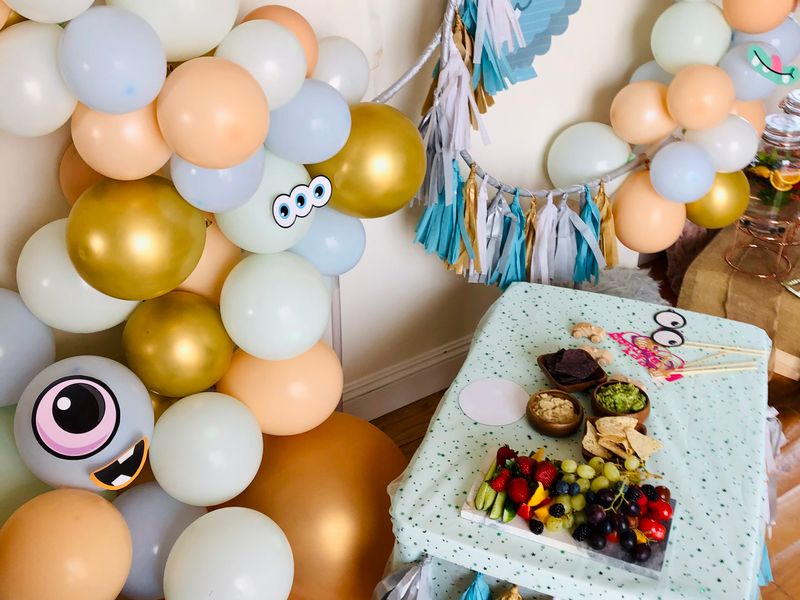
Three hours into blowing up ninety balloons for a full arch, it becomes clear the color pattern looks nothing like it did in your head, and there’s no easy way to redo it without starting over.
Before committing to a full arch’s worth of balloons, inflate just eight or ten in the planned color pattern and clip them together in the actual sequence first. It takes ten minutes and shows immediately whether the colors, sizes, and ratios actually work together in real life instead of just in theory. This is also the easiest way to build a small portfolio of photos to show what your work actually looks like before anyone’s asked you to make one for them. The only real cost is patience — it’s tempting to skip straight to the full build. But catching a bad color combination at balloon number ten is a very different problem than catching it at balloon number ninety.
The ten-minute step that saves the other three hours.
- Why it’s #9: Confirms the design actually works before committing dozens of balloons to it
- Best for: Anyone testing a new color combination or trying this for the first time
#8 — Hi-Float Large Balloon Transport Bag
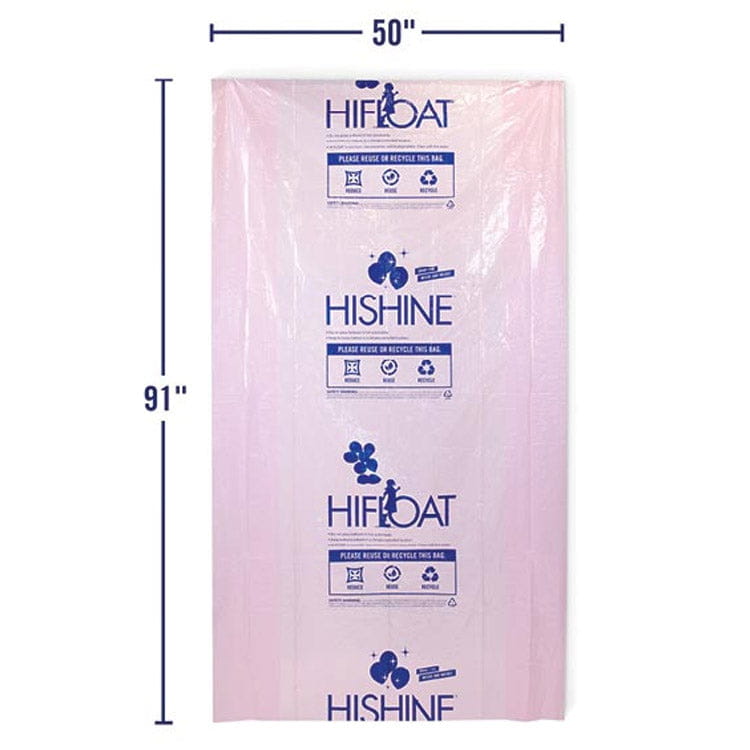
The garland is finished, it looks perfect laid across the living room floor, and now it needs to survive a car ride to wherever it’s actually supposed to be set up.
This bag is ventilated specifically so balloons don’t sweat or pop from trapped heat during transport, sized to hold a full garland’s worth of inflated balloons without having to deflate and redo everything on arrival. It’s a simple, unglamorous product that solves a problem nobody thinks about until the first time a finished garland gets crushed in a trunk. The one real limitation is that it’s sized for a specific garland length, so a much bigger installation might need more than one. But for getting a finished piece anywhere in one piece, this is the step that’s easy to skip and expensive to regret skipping.
The garland looked perfect at home. This is how it still looks perfect on arrival.
- Why it’s #8: Ventilated design keeps inflated balloons from popping or sweating during transport
- Best for: Moving a finished garland to a venue or event without redoing the work on-site
#7 — Qualatex Balloon Sizer Box
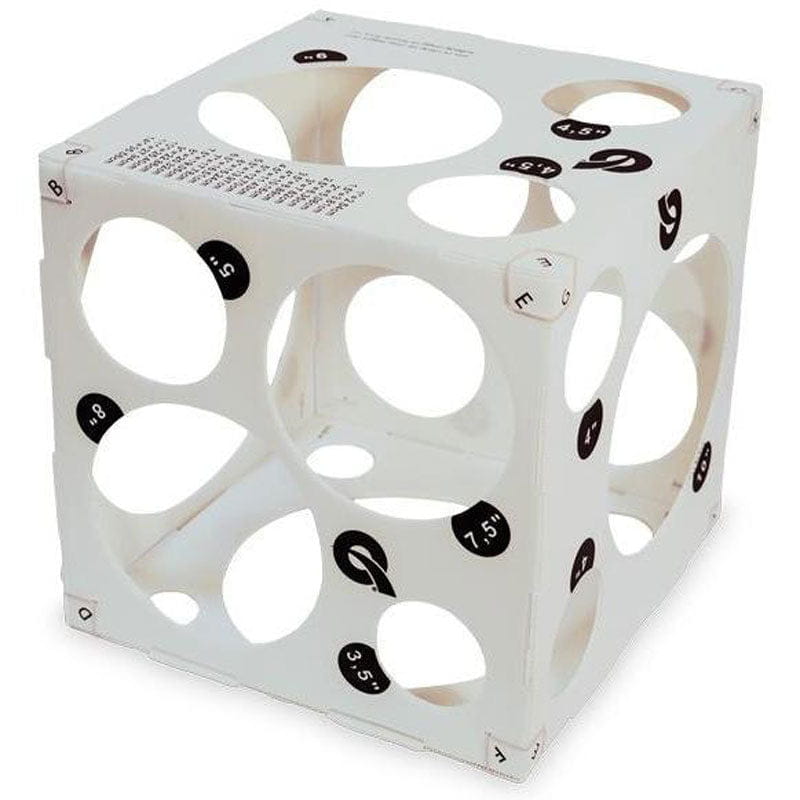
Every balloon in the arch is supposed to be roughly the same size, and after inflating forty of them by eye, they clearly are not, and the whole thing reads as slightly, unmistakably off.
This cube has cut-out templates in every common balloon size, so instead of guessing, each balloon gets inflated until it just fits its designated hole. It’s the single fastest way to go from “homemade-looking” to “actually professional-looking” without changing anything else about the process. The only real downside is that stopping to check sizing on every single balloon does add time to a big project. But consistent sizing is one of the most visible differences between a beginner arch and a professional one, and this is the cheapest way to close that gap.
The tool that makes “roughly the same size” into “actually the same size.”
- Why it’s #7: Guarantees consistent balloon sizing, one of the biggest visible upgrades for a beginner
- Best for: Anyone whose balloons currently come out looking slightly mismatched
#6 — Start With Friends and Family Before Anything Else

The first arch turns out surprisingly well, and it’s tempting to immediately start thinking about turning this into something bigger before the second or third one has even happened.
Offering to build the next few installations for a friend’s birthday, a family baby shower, or a relative’s graduation does two things at once: it gives real practice on an actual deadline instead of a casual weekend project, and it builds a genuine photo portfolio of real installations instead of just practice runs at home. It also gives time to figure out how long a design actually takes to build, transport, and set up before any of that becomes anyone’s expectation. The only real trade-off is patience, since it’s slower than jumping straight into anything bigger. But a handful of real, low-stakes events under your belt teaches far more than any tutorial does.
The practice round that also happens to build a real portfolio.
- Why it’s #6: Real deadlines and real feedback teach faster than practicing alone at home
- Best for: Anyone past their first arch and wondering what a reasonable next step looks like
#5 — Scotch Adhesive Dots
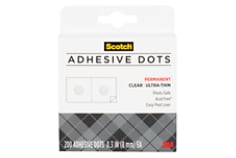
The garland strip holds the big balloons in place just fine, but there are always gaps between them, and an arch full of visible gaps reads as unfinished no matter how good the color pattern is.
These clear, ultra-thin adhesive dots let small filler balloons get tucked directly into every gap without needing helium, glue guns, or anything that could damage the balloons themselves. They’re removable enough to reposition mid-build if a filler balloon ends up in the wrong spot, which matters more than it sounds like when working through a large design. The honest limitation is that they’re a finishing touch, not a structural one — they hold filler balloons in place, not the actual weight of the garland. But gapless coverage is one of the clearest signs of a well-built arch, and this is the simplest way to get there.
The tiny detail that’s the difference between “gaps” and “actually finished.”
- Why it’s #5: Fills visible gaps between balloons without helium or glue guns
- Best for: Closing gaps on any garland or arch design, repositionable mid-build
#4 — Coogam Balloon Arch Garland Decorating Strip Kit
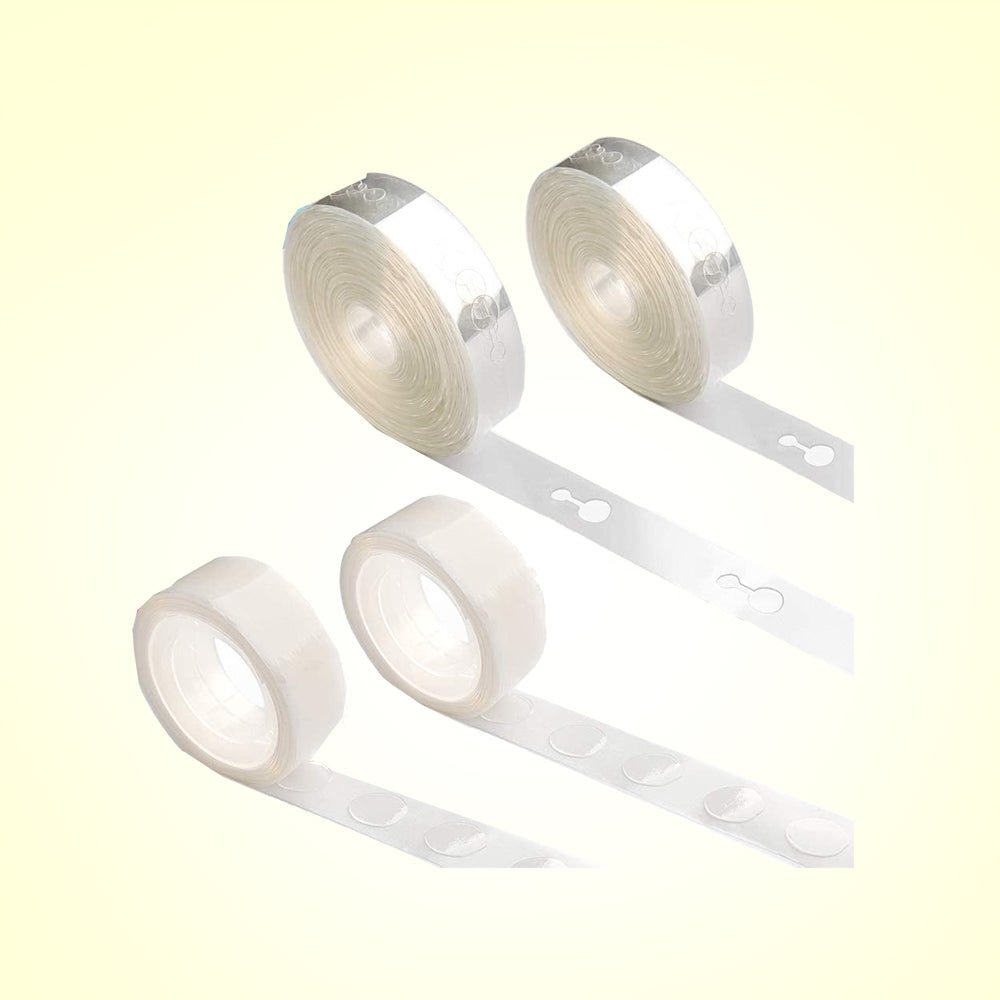
Without something to actually hold balloons in a line, a pile of inflated balloons is just a pile of inflated balloons, no matter how good the color plan is.
This is the connective tissue of the whole project — a plastic strip with evenly spaced holes that balloon necks tuck into, holding everything in a clean, even line that can then be shaped into an arch, a garland, or a swag. Sixty-four feet is enough for most standard arches without needing a second kit mid-build, and the included glue dots handle the smaller filler balloons in the gaps. The real weakness is that the strip itself is only as good as the plan behind it — it holds balloons in place, but it won’t fix a color pattern that wasn’t thought through first. But this is genuinely the piece of equipment that turns loose balloons into an actual arch shape.
The strip that turns a pile of balloons into an actual line.
- Why it’s #4: 64 feet of strip plus glue dots, enough for most standard arch designs in one kit
- Best for: The core structure of any garland, arch, or swag design
#3 — QRabbit Premium Latex Balloons

Cheap balloons pop mid-inflation often enough to be genuinely demoralizing, and finding out a bag is thin and unreliable halfway through a big project is a specifically frustrating way to lose an afternoon.
These are noticeably thicker than bargain-bin balloons, which means fewer pops during inflation and a finished arch that holds its shape and color for days instead of visibly sagging by evening. Fifteen assorted colors in one pack covers most color-pattern ideas without needing to buy several separate bags. The honest trade-off is that thicker, higher-quality balloons cost more per balloon than the cheapest option available, though the difference shows up immediately in how much easier they are to work with. But for a first project, a pack of balloons that doesn’t fight back is worth a lot.
The balloons that actually survive the process of becoming an arch.
- Why it’s #3: Noticeably thicker latex means fewer pops and better shape retention over time
- Best for: Anyone tired of cheap balloons popping mid-project or deflating by the event
#2 — NuLink Electric Balloon Pump
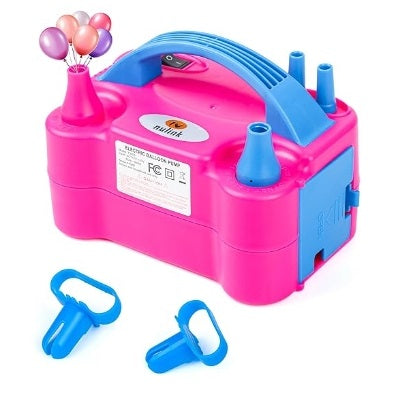
Balloon number thirty by hand pump is the moment most people seriously reconsider this whole hobby, with sixty more still waiting.
This plugs in and inflates balloons in a couple of seconds each through dual nozzles, turning what would be an hour of manual pumping into a task that’s actually done before you’ve had time to get tired of it. The dual nozzle setup means two balloons can be prepped at once, which adds up fast across a hundred-balloon arch. The one real weakness is that it’s a corded electric tool, so it needs to be near an outlet, unlike a hand pump that works anywhere. But the very first project makes it obvious this isn’t optional equipment, it’s the tool that makes the hobby actually enjoyable instead of an arm workout.
The one purchase that turns an hour of pumping into a few minutes.
- Why it’s #2: Dual nozzles inflate balloons in seconds instead of manually pumping each one
- Best for: Anyone planning to make more than a handful of balloons at a time
#1 — Chamvis Balloon Arch Kit
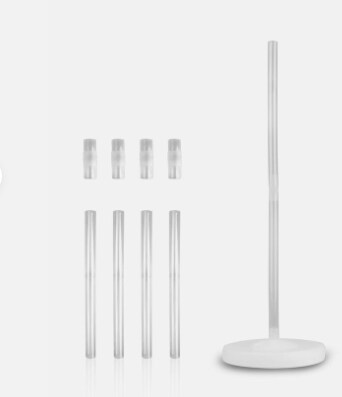
Balloons, glue dots, and a garland strip make a genuinely nice-looking line of balloons that has absolutely no way to stand up into the actual arch shape everyone pictures.
This is the frame everything else depends on — adjustable fiberglass poles and a water-fillable base that give the garland its actual arch shape and keep it standing upright through an entire event instead of slowly sagging into a heap. It adjusts in both height and width, so the same kit works for a tabletop display or a full walk-through arch depending on how it’s set up. The real weakness is that it’s an investment before a single balloon has been inflated, which can feel backwards for a first project. But without this, everything else on this list just makes a very nice pile of balloons on the floor.
The one purchase that turns everything else on this list into an actual arch.
- Why it’s #1: The literal structure every other item on this list depends on to actually become an arch
- Best for: The very first purchase, before anything else on this list
Bottom Line
None of this requires buying everything at once — the arch frame and a bag of balloons is a real starting point, and the rest earns its place as the hobby actually grows. Start with the Chamvis frame and the NuLink pump; those two alone turn “an idea” into an actual arch standing in the room.
Leave a Reply