
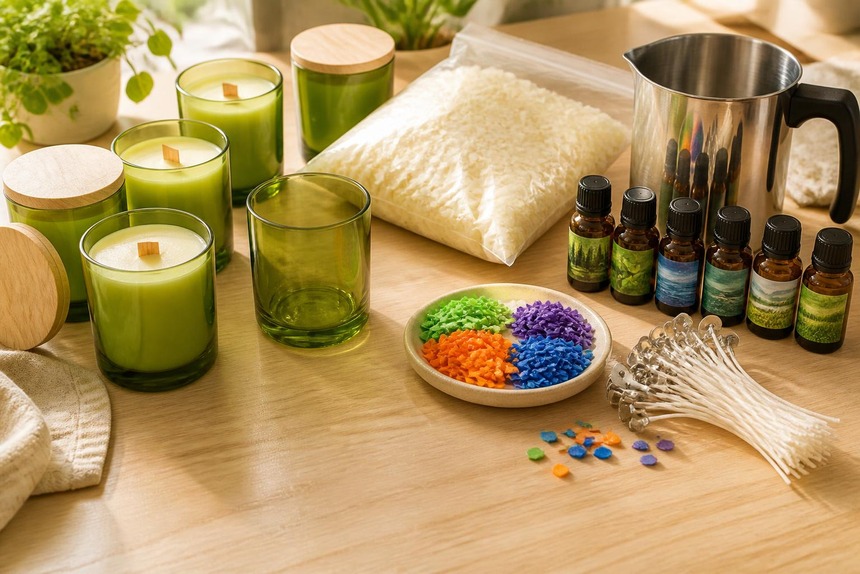
Candle making has quietly become one of the most satisfying crafts to pick up — equal parts kitchen chemistry and home decor, with a finished product you can actually use or give away. Here’s the lineup, counting down from the finishing touches to the one purchase that gets you started from zero.
#10 — Custom Candle Label Stickers

Your first batch of candles turned out genuinely good, and now they’re sitting on the counter looking like unlabeled mystery jars instead of something you’d be proud to give away.
These kraft label stickers turn a plain jar into something that reads as intentional — scent name, a little icon, done. They’re printed on standard adhesive stock rather than a heavier waterproof material, so a jar that gets genuinely wet or oily on the outside can eventually smudge the ink. For candles that live on a shelf or get gifted shortly after pouring, that’s a non-issue.
Verdict: The five-minute upgrade that makes a homemade candle look store-bought.
- Why it’s #10: Turns a plain jar into something worth giving as a gift.
- Best for: Anyone whose candles already look good but still say “mystery jar.”
#9 — Metal Wick Centering Devices
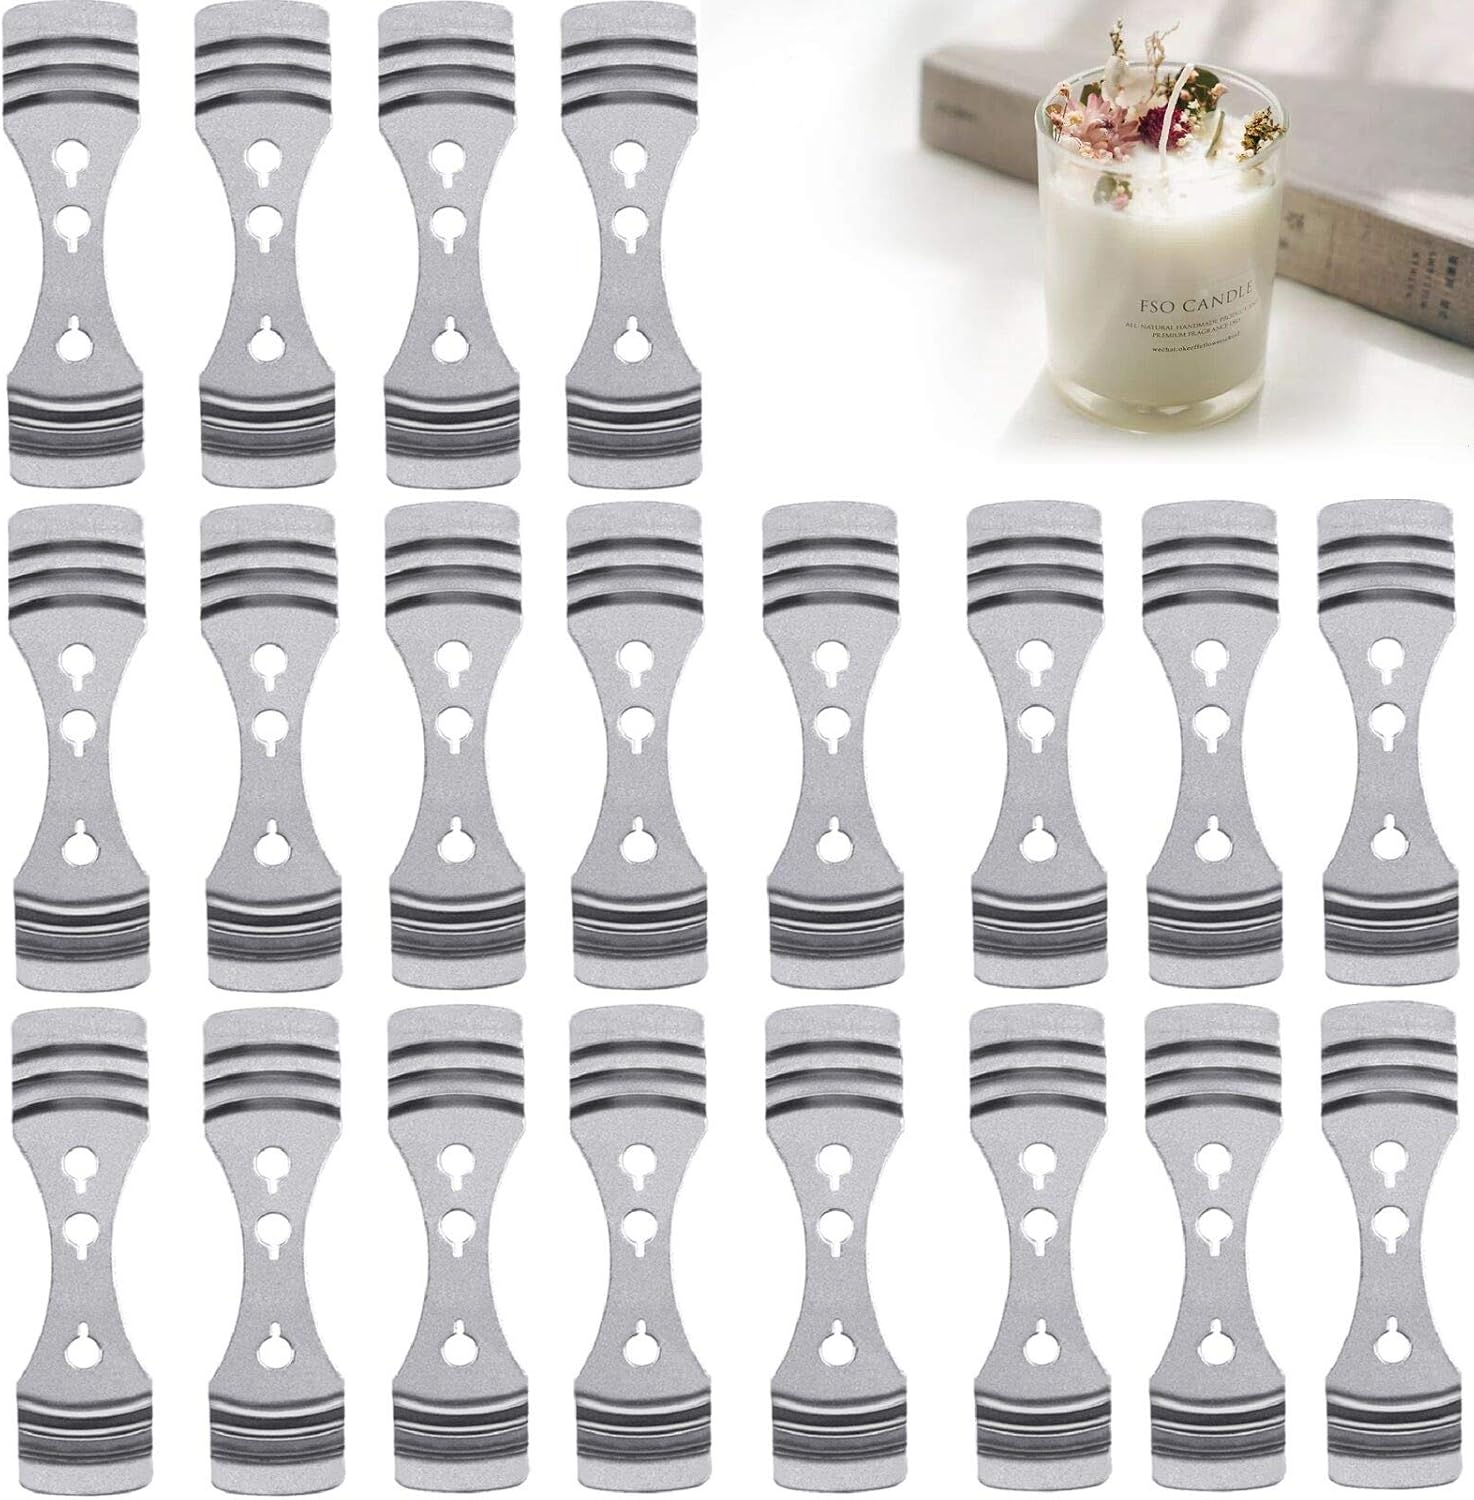
You poured a beautiful candle, it cured perfectly overnight, and then you noticed the wick had drifted a full inch off-center while you weren’t looking.
This little metal clip holds the wick dead-center across the top of the jar while the wax sets, which is the difference between an even burn and one side tunneling down while the other stays solid. It’s a tiny, easy-to-lose piece of hardware — keep it in the same drawer as your wicks, not loose in a junk drawer. Once you’ve used one, going back to eyeballing it feels like a mistake waiting to happen.
Verdict: The cheapest insurance policy against a crooked, unevenly-burning candle.
- Why it’s #9: Solves the single most common first-time candle mistake.
- Best for: Anyone who’s already had a wick wander off-center mid-pour.
#8 — Mini Craft Heat Gun
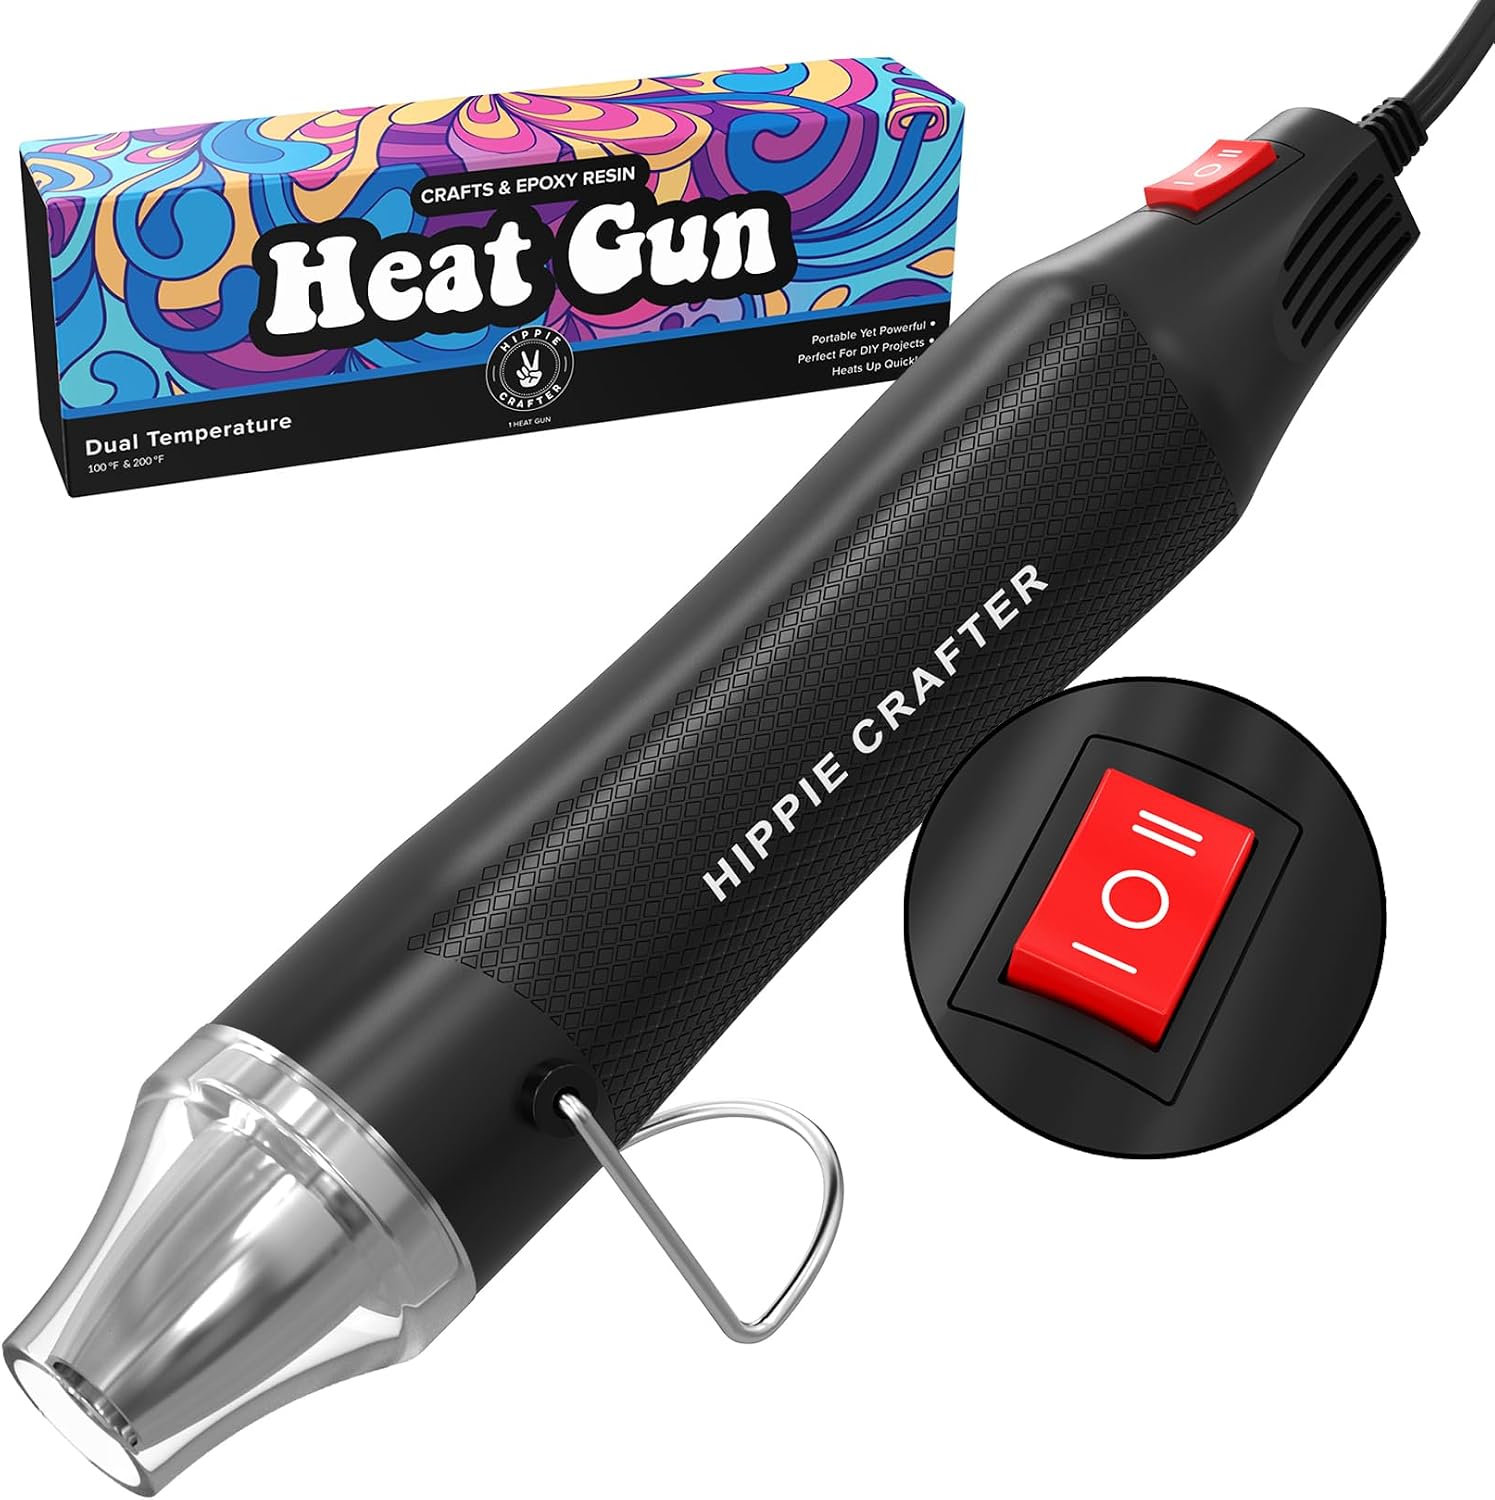
Your candle cured overnight and the top looks like the surface of the moon — a frosty, pitted mess instead of the glassy-smooth finish you pictured.
A quick pass with a mini heat gun re-melts just the surface layer, smoothing out that frosting and popping any trapped air bubbles in seconds. It runs hot enough to genuinely burn skin on contact, so it needs the same respect as a hair dryer’s angrier cousin — never left running unattended near the jar. Used carefully, it’s the fastest fix for the one cosmetic issue that shows up on almost every beginner’s first few candles.
Verdict: The tool that turns a “homemade-looking” top into a genuinely smooth one.
- Why it’s #8: Fixes frosting and air bubbles in seconds, no re-pouring required.
- Best for: Anyone whose cooled candles keep coming out with a cloudy or pitted top.
#7 — Soy Wax Candle Dye Chips
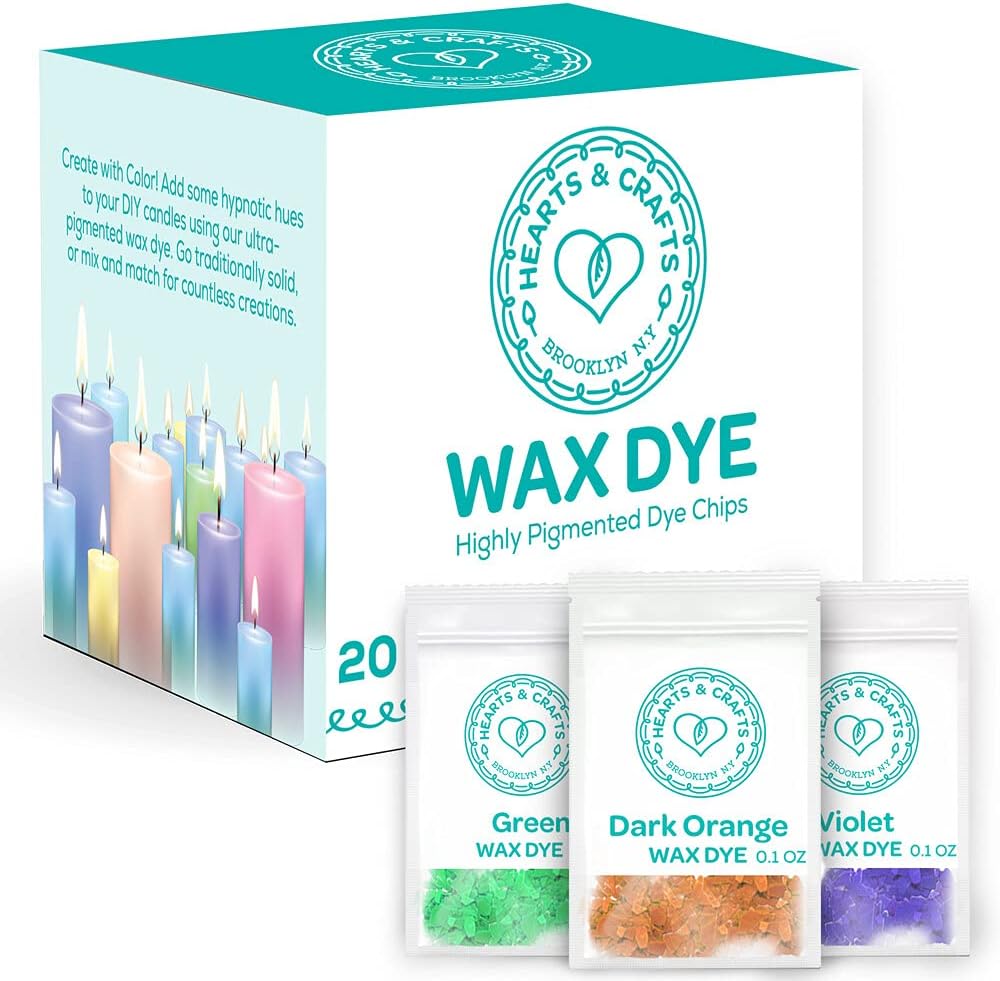
Every candle you’ve made so far has been the same shade of “slightly off-white,” and it’s starting to feel like every jar in the house came from the same batch.
These concentrated dye chips melt straight into the wax, and a sliver goes a long way — a whole chip can tint far more wax than it looks like it should. The color intensity is genuinely hard to judge until the wax cools, since molten wax always looks darker than the finished candle, so a small test pour before committing the full batch saves a lot of guessing. Once you’ve got the ratio dialed in, this is what turns a plain candle into a genuinely designed one.
Verdict: The easiest way to stop every candle from looking like the same shade of beige.
- Why it’s #7: A little goes a long way, and the color range covers almost any palette.
- Best for: Anyone ready to move past plain white and start matching candles to a color scheme.
#6 — Fragrance Oil Trial Set

You want your candles to actually smell like something specific, not just “vaguely waxy,” but committing to one full-size bottle of a scent you’ve never tested feels like a gamble.
A trial set of smaller bottles lets you test several fragrances across a few candles before betting a whole batch on one scent, which matters more than it sounds like it should — a fragrance that smells great straight from the bottle can smell completely different once it’s heated and thrown from a lit candle. The smaller bottles do mean you’ll run out faster than a single large one if you land on a favorite early. That’s a good problem to have.
Verdict: The low-risk way to find your signature scent before committing to a full bottle.
- Why it’s #6: Lets you test multiple scents before wasting wax on the wrong one.
- Best for: Anyone still figuring out which fragrances actually throw well when burned.
#5 — Glass Candle Jars with Lids
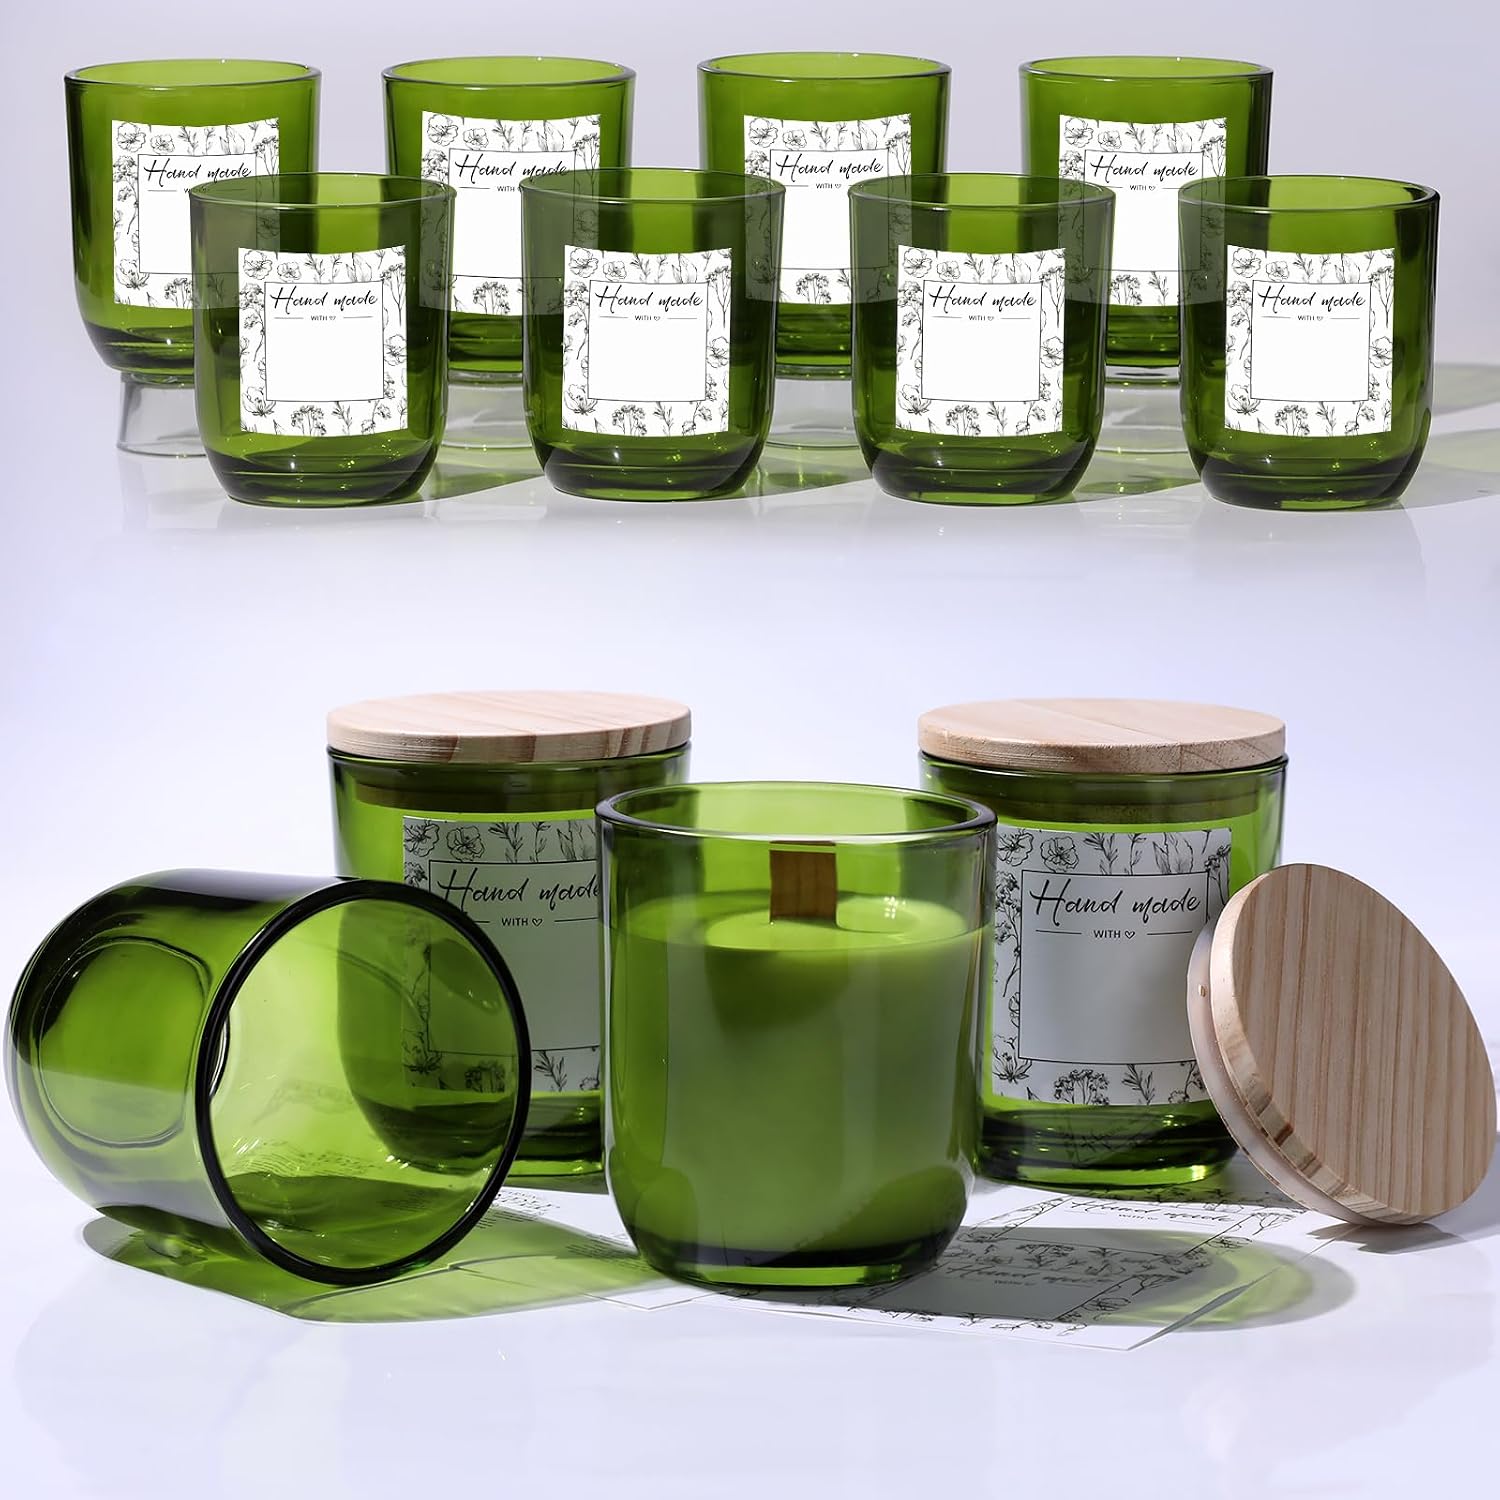
You’ve got wax, wicks, and dye sorted out, and now you’re pouring finished candles into whatever mismatched jars you had lying around the kitchen.
A set of matching glass jars with lids gives every candle in a batch the same clean, uniform look, and the lids double as genuinely useful protection from dust between pours and burns. Glass this size runs thin enough that it’s worth handling with real care when the wax inside is still hot — a sudden temperature shock is the one way these can crack. Treated normally, they’re the easiest upgrade from “jar I had lying around” to “candle that looks intentional.”
Verdict: The upgrade that makes an entire batch look like a matched set instead of leftovers.
- Why it’s #5: Uniform, photogenic jars that make every candle in a batch match.
- Best for: Anyone ready to stop pouring into whatever container was closest.
#4 — Pre-Waxed Cotton Wicks with Sustainer
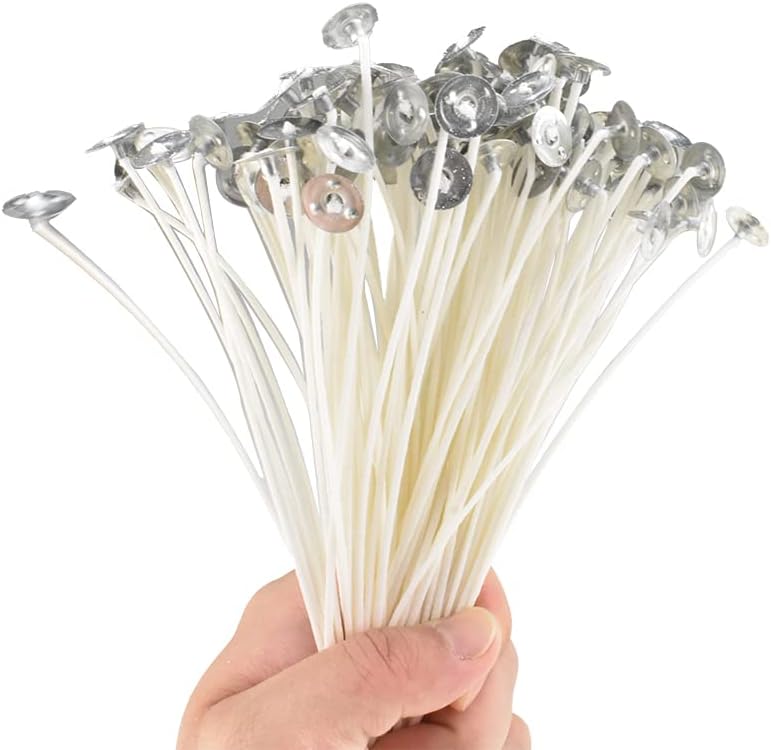
You’ve got everything else dialed in, and the one part still going wrong is the actual flame — it’s drowning itself, or barely staying lit, or tunneling straight down the middle.
Pre-waxed cotton wicks with a metal sustainer tab already attached take the guesswork out of picking the right wick size, since they’re cut and treated specifically for even, low-smoke burning in standard container candles. The right wick size still depends on your jar’s diameter, so a wick that burns perfectly in a narrow jar can drown itself in a wider one. Match the size to the container and this stops being a variable you have to think about at all.
Verdict: The unglamorous basic that actually determines whether a candle burns right.
- Why it’s #4: Pre-waxed and pre-tabbed, so there’s nothing left to assemble.
- Best for: Anyone whose candles keep tunneling, drowning, or refusing to stay lit.
#3 — Stainless Steel Wax Melting Pouring Pot
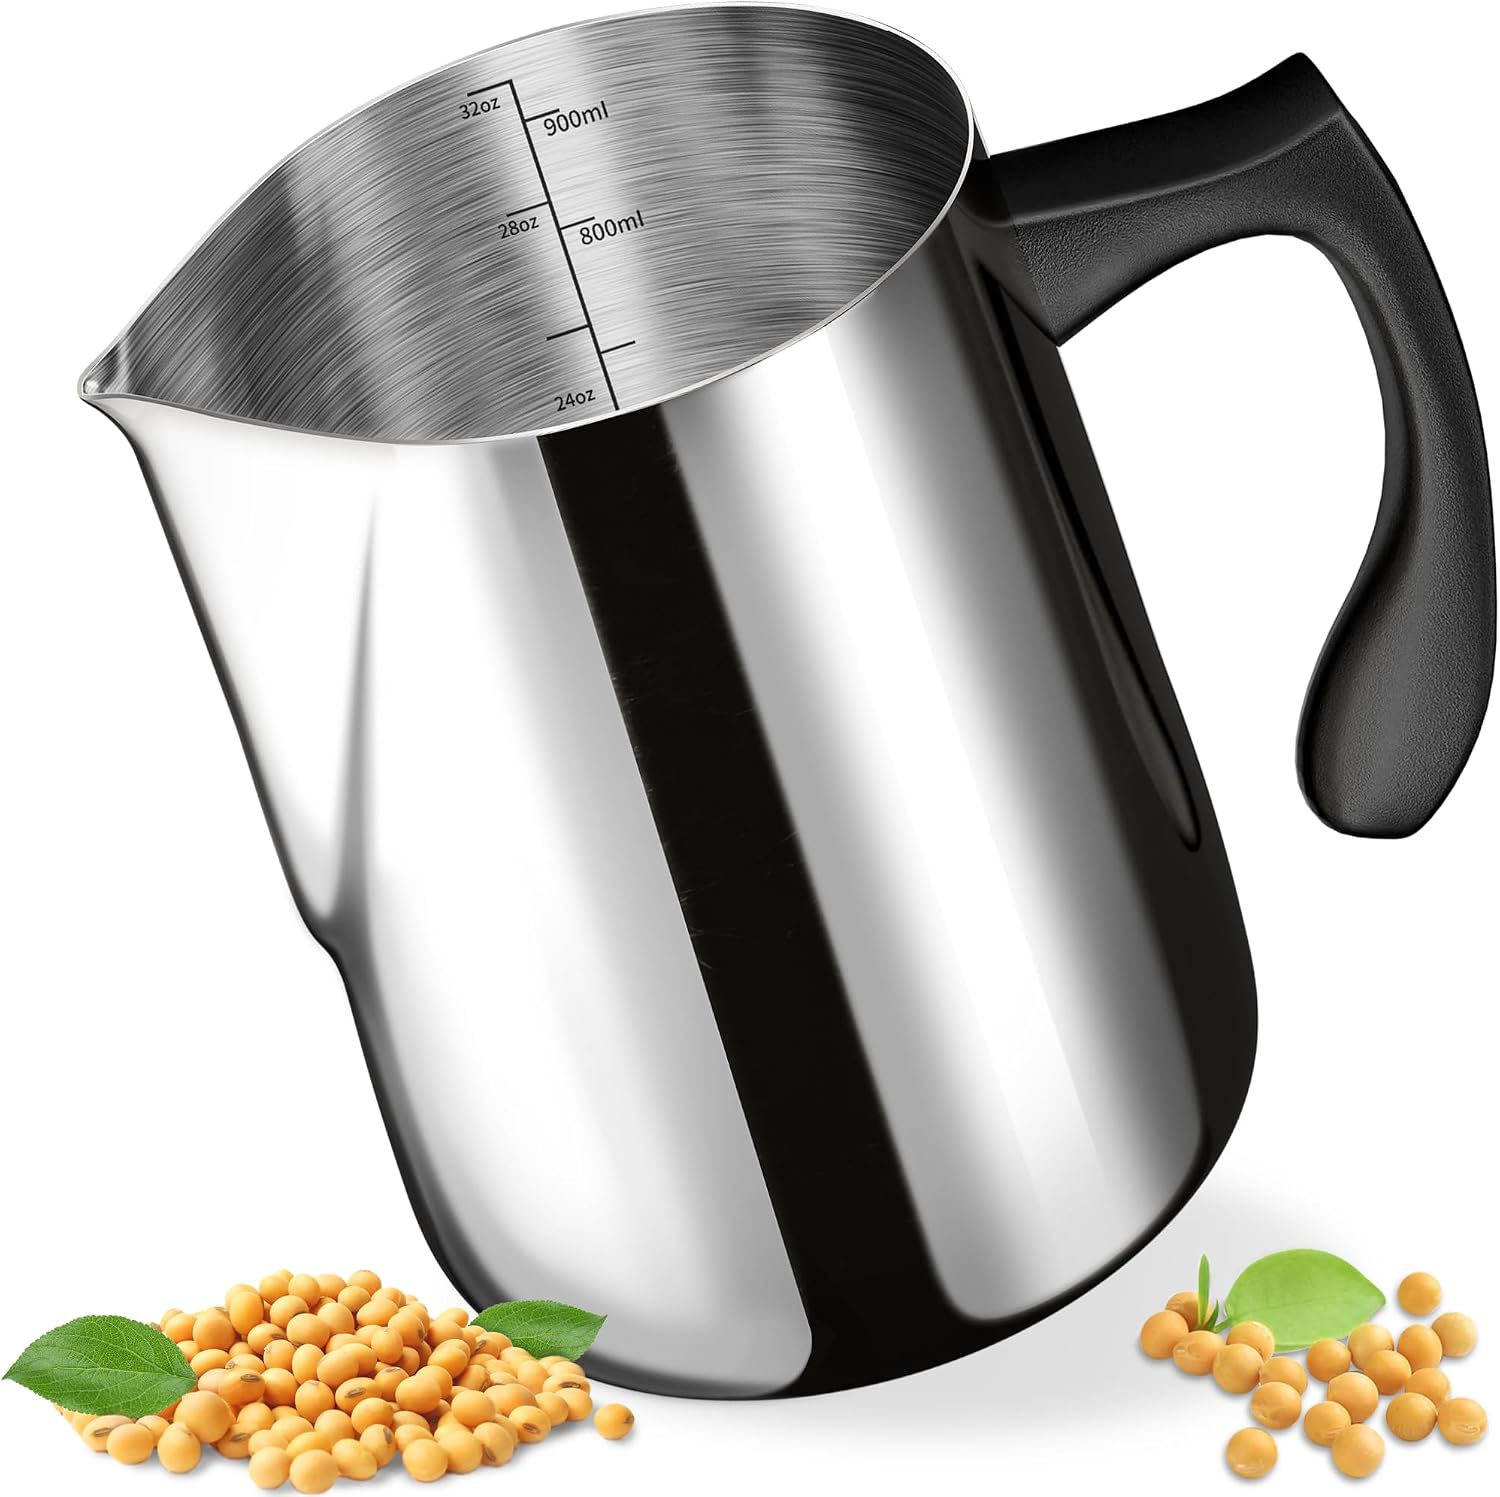
Melting wax in a regular saucepan seemed fine until you tried to actually pour it into a narrow jar and half of it ended up on the counter instead.
A dedicated pouring pot with a dripless spout and a heat-resistant handle turns the messiest part of the whole process into a clean, controlled pour, and it does double duty as the melting vessel too. The handle stays cool, but the pot itself gets genuinely hot, so it still needs a trivet or hot pad on the counter rather than going straight down on a surface that scorches. Once you’ve poured from one of these, going back to a regular saucepan feels like a step backward.
Verdict: The tool that turns “wax everywhere” into an actual controlled pour.
- Why it’s #3: A dripless spout that saves both wax and your counter.
- Best for: Anyone tired of cleaning spilled wax off the stove after every batch.
#2 — 10lb Soy Wax Flakes
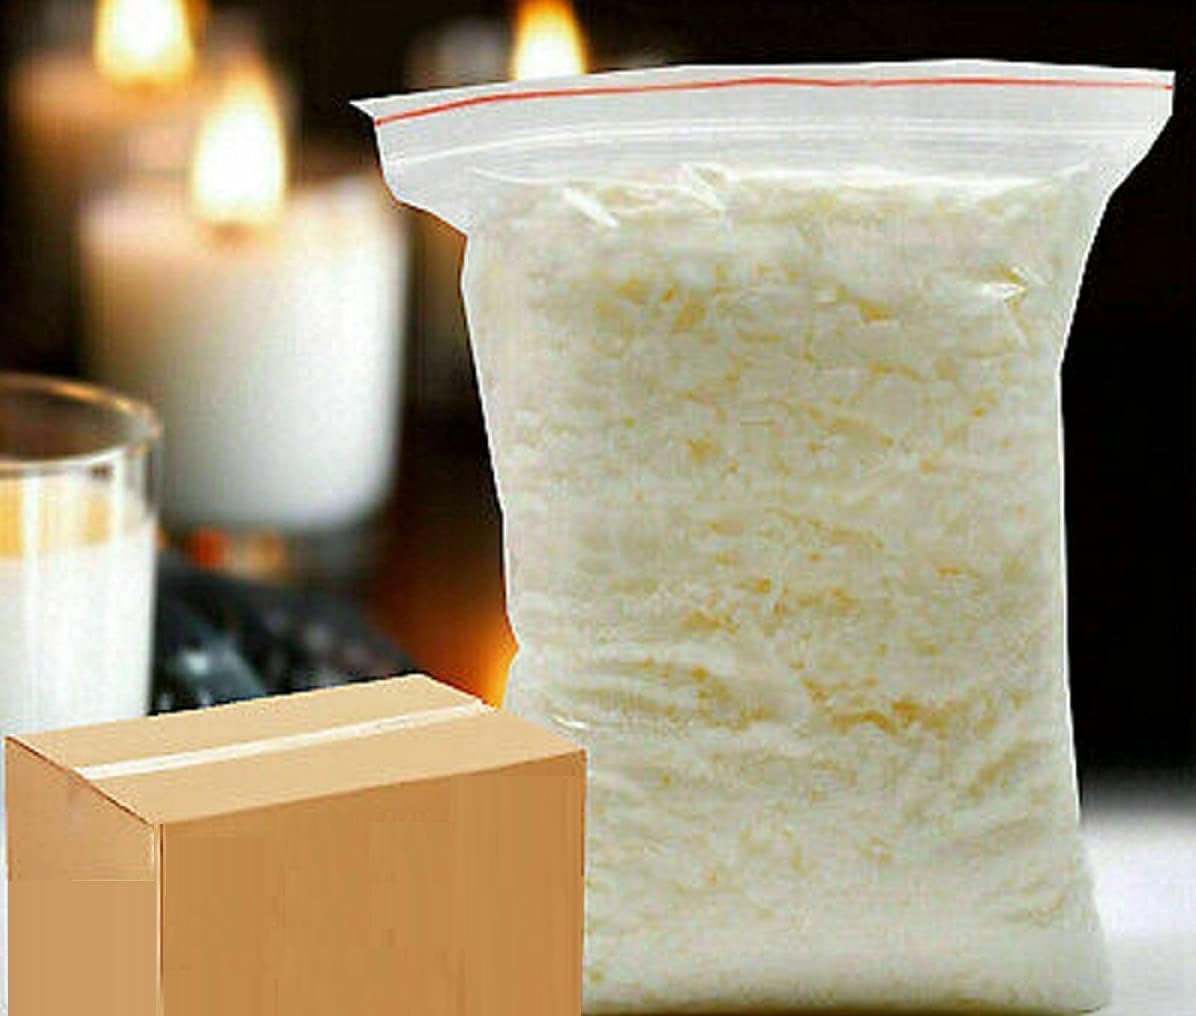
Every other tool on this list is useless without the one ingredient that actually becomes the candle, and buying wax a pound at a time gets expensive and repetitive fast.
A 10-pound bag of cosmetic-grade soy wax flakes with no additives melts evenly, holds fragrance and dye well, and lasts through dozens of standard container candles before you need to reorder. Soy wax is softer than paraffin, so a candle poured too close to a warm room can develop a slightly sunken or uneven top even after it’s fully cured — a cosmetic quirk, not a failure. It’s still the most forgiving, beginner-friendly wax to actually learn on.
Verdict: The actual ingredient every candle on this list is built from.
- Why it’s #2: Forgiving, clean-burning, and the standard beginner recommendation for good reason.
- Best for: Anyone ready to stop buying wax a pound at a time.
#1 — Complete Beginner Candle Making Kit
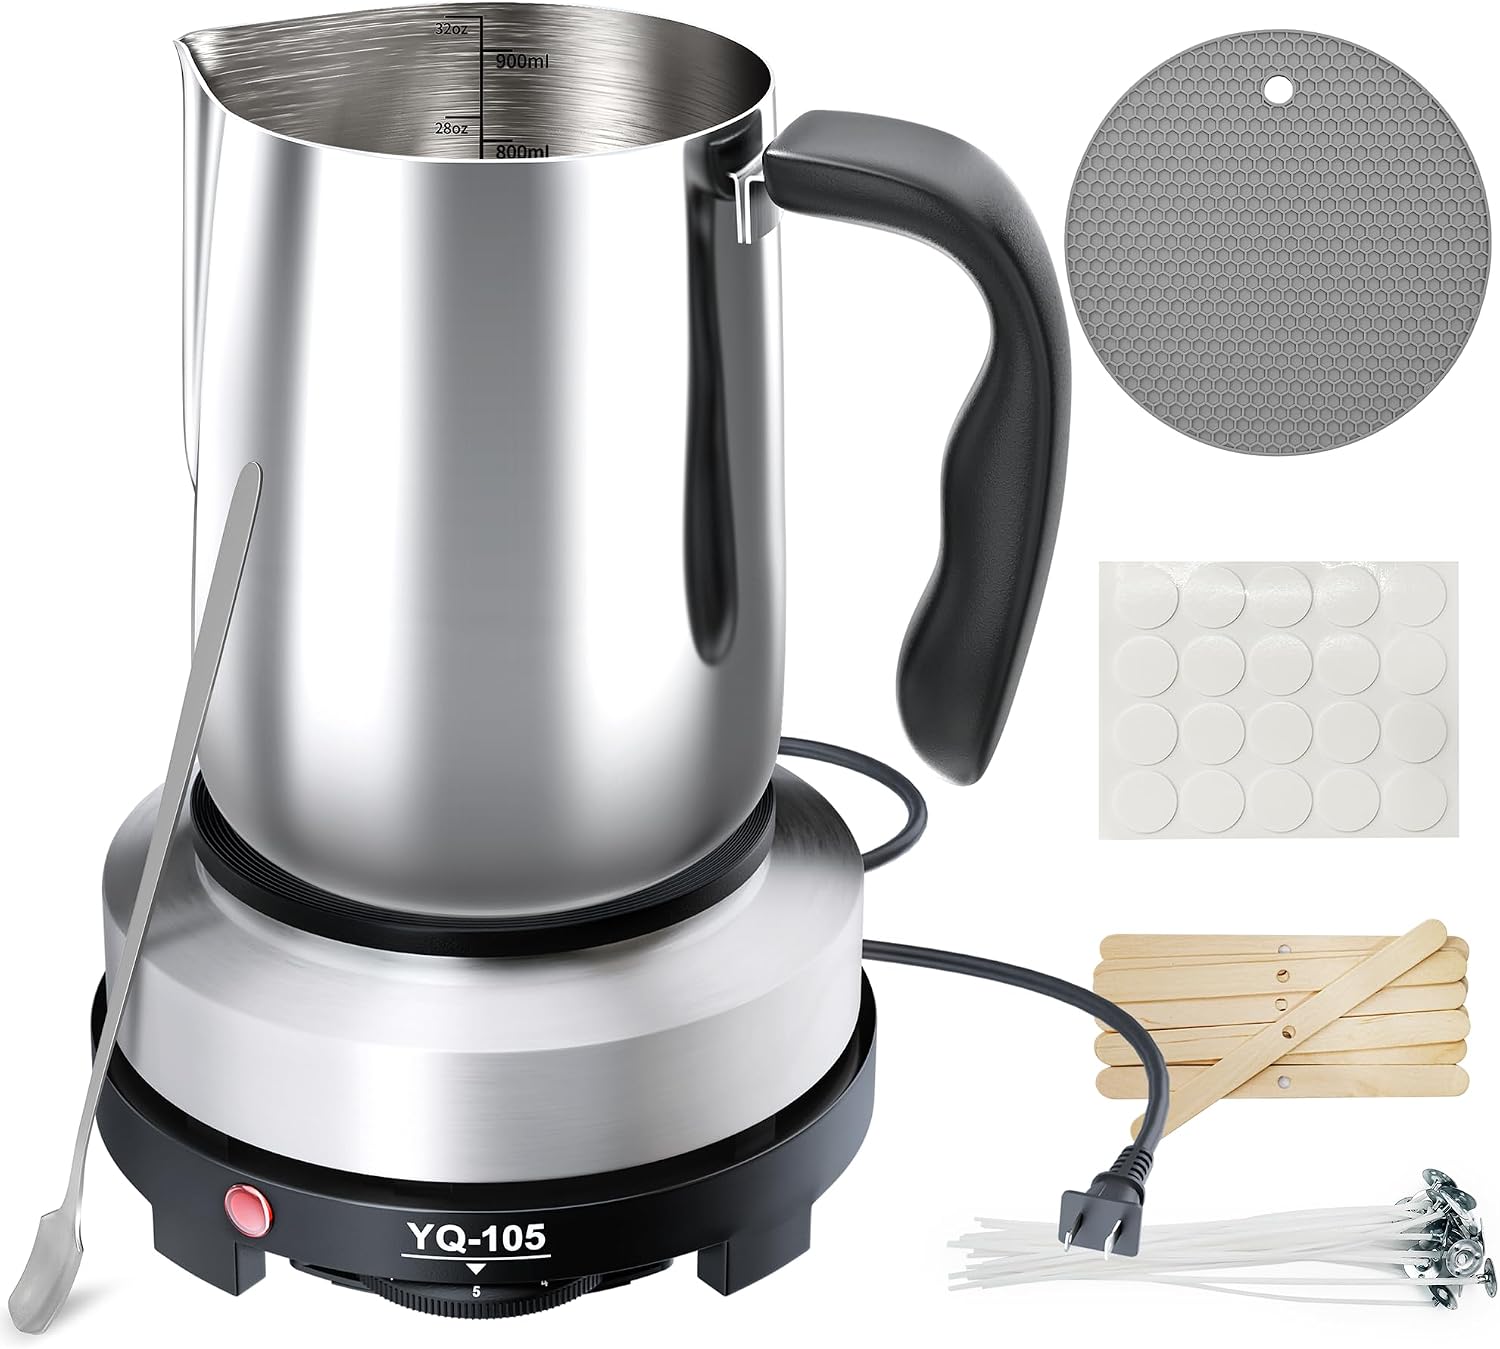
You’ve read this whole list and you still don’t want to piece together nine separate purchases before you’ve even melted your first ounce of wax.
This kit bundles a hot plate, a wax melting pot, a stirring spoon, an anti-scalding pad, wicks, and wooden wick holders into one order, which means the actual barrier to starting — not owning any of the equipment yet — disappears in a single checkout. A bundled kit’s individual pieces are a notch more basic than the dedicated versions higher on this list, so a serious hobbyist will eventually upgrade piece by piece. For anyone who just wants to pour a first candle this weekend, that tradeoff is exactly the point.
Verdict: The one purchase that turns “I want to try candle making” into actually doing it.
- Why it’s #1: Removes every excuse standing between you and your first pour.
- Best for: Total beginners who don’t want to shop nine separate listings before starting.
Bottom Line
If you’re starting from absolutely nothing, the complete kit gets you pouring a candle this weekend with zero other purchases. Once you’re hooked, the upgrades come in a natural order: bulk wax and dedicated wicks first, then a real pouring pot, then color and scent, and finally the finishing touches — matching jars, a heat gun for a flawless top, and labels that make the whole thing look like it came from a shop instead of a kitchen counter.
Leave a Reply